


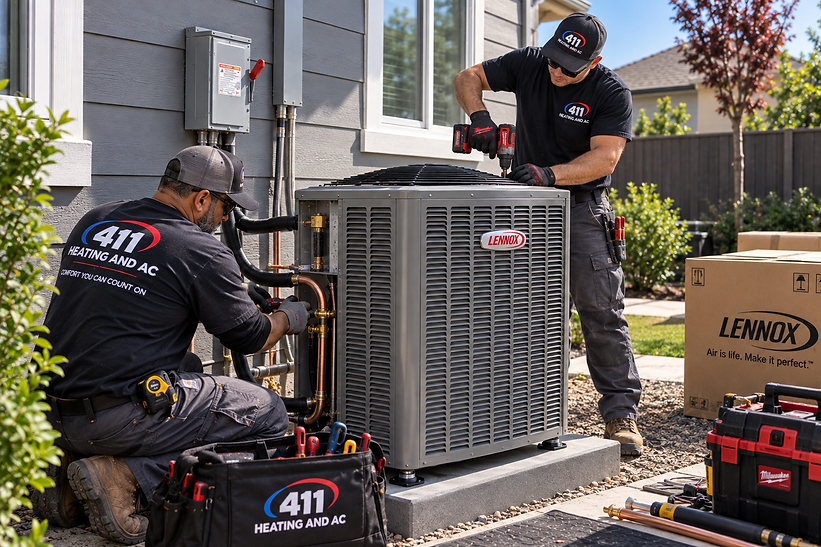
AC INSTALLATION
Overview of AC Installation
Installing a new air conditioning system is an important investment in your home’s comfort and energy efficiency. A proper installation involves much more than simply replacing the outdoor unit. The system must be correctly sized, connected, tested, and calibrated to provide dependable cooling throughout your home.
This guide walks you through the AC installation process, from removing the existing equipment to testing the new system, so you know what to expect on installation day.
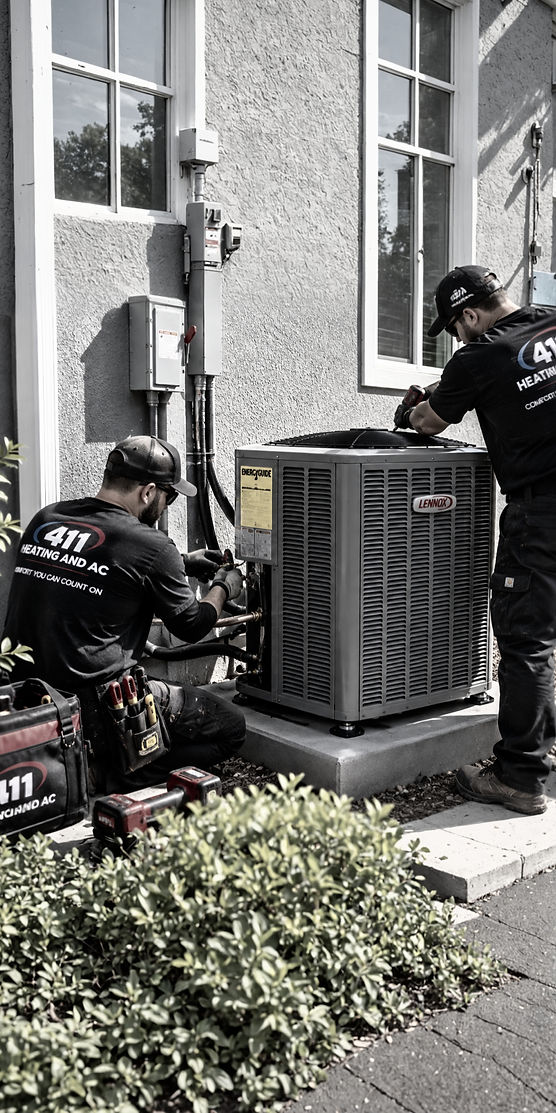
01. Removing the Existing AC System
Technicians begin by safely disconnecting the existing air conditioning equipment:
-
Electrical power and disconnect
-
Thermostat connections
-
Refrigerant lines
-
Indoor evaporator coil connections
-
Condensate drain lines
-
Outdoor condenser connections
Any remaining refrigerant must be properly recovered before the old equipment is removed. Once the existing system is out, the installation area and connecting components can be inspected before the new AC is installed.
03. Installation of the New ACsystem
Once the area is prepared, the new equipment is positioned and connected. Installers will:
-
Position and level the outdoor condenser
-
Install or connect the indoor evaporator coil
-
Connect the refrigerant lines
-
Connect electrical wiring and the disconnect
-
Connect the condensate drain
-
Seal necessary duct connections
-
Connect the thermostat and verify compatibility
Proper installation is important because incorrect refrigerant connections, airflow, electrical connections, or equipment setup can affect both comfort and system performance.
02. Inspecting and Preparing the Area
Before installing the new air conditioner, we inspect the components that will work with the new system.
-
Ductwork: We check the duct system for proper airflow and look for leaks, restrictions, or damaged sections that could affect cooling performance.
-
Electrical Connections: The electrical supply, disconnect, wiring, and circuit requirements are checked to make sure they are appropriate for the new equipment.
-
Refrigerant Lines: Existing refrigerant lines are inspected to determine whether they are compatible with the new system or need to be replaced.
-
Drainage: The condensate drain system is checked to make sure moisture produced by the AC can drain properly.
-
Equipment Area: The outdoor location is inspected to provide proper clearance and airflow around the condenser.
04. Testing of Systems
After installation, we perform a complete system check before the job is finished. This includes:
-
Checking refrigerant operation
-
Testing thermostat communication
-
Checking supply and return airflow
-
Measuring temperature differences
-
Testing electrical components
-
Checking condensate drainage
-
Inspecting refrigerant connections
-
Confirming proper system cycling These final checks help make sure your new air conditioner is cooling properly and operating as designed before we leave your home.
Installation Requirements for Different Types of AC Systems
Before installation begins, we evaluate your home, existing HVAC equipment, electrical system, ductwork, and cooling needs. Different air conditioning systems have different installation requirements, so the installation process can vary depending on the type of system being installed.
01.
Central Air Conditioning Installation
Central AC systems typically require:
-
Properly sized indoor and outdoor equipment
-
Compatible evaporator and condenser components
-
Refrigerant line connections
-
Condensate drainage
-
Electrical connections
-
Existing ductwork with adequate airflow
We make sure the indoor and outdoor equipment work together properly and that cooled air can be distributed throughout the home.
02.
Heat Pump Installation
Heat pumps provide both cooling and heating from the same system. Installation may require:
-
Indoor and outdoor equipment matching
-
Refrigerant line installation
-
Electrical connections
-
Thermostat compatibility
-
Condensate drainage
-
Proper airflow setup
Because a heat pump operates in both heating and cooling modes, the complete system must be configured and tested for proper operation
03.
Ductless Mini-Split Installation
Ductless mini-split systems provide cooling without traditional ductwork. Installation typically includes:
-
Mounting the indoor air handler
-
Installing the outdoor condenser
-
Running refrigerant lines between units
-
Installing electrical connections
-
Installing a condensate drain
-
Testing communication between indoor and outdoor equipment
Mini-splits can be a good solution for additions, garages, individual rooms, or homes where installing traditional ductwork isn't practical.
04.
Final Takeaway
A new AC installation can make a major difference in your home’s comfort, especially when the equipment is properly sized and installed.
At 411 Heating & AC, we make sure the system is correctly positioned, connected, tested, and calibrated before the installation is complete. Proper installation helps your new air conditioner deliver dependable cooling and consistent comfort throughout your home.